
Join Actions are pre-defined actions that you can perform on remote devices. Actions can be performed from various places on your Android device:
- Quick Setting Tiles
- App Shortcuts (Long Press Join icon in Launcher)
- Home Screen Shortcuts
- Share Targets
- Notification Buttons
- Tasker Actions
To create the actions open Join -> Expand navigation bar on the left -> Actions
These are also available in Chrome as extra buttons you can add to each device.
Android
Places To Use Actions
If you touch an action in Join -> Actions you can select where you want it to appear.
Quick Tiles
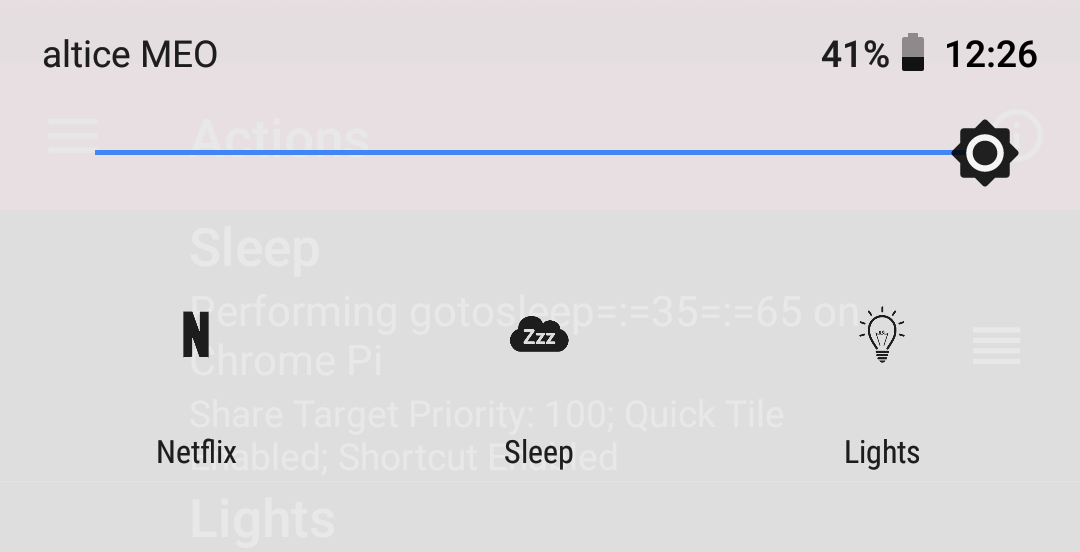
After creating an action, edit your quick setting tiles panel and add a “Join Action” tile to your panel. You can create up to 5 quick tiles with Join actions. These will be the first 5 actions on your list for which you have enabled the quick tile option.
App Shortcuts

If you long click the Join icon you’ll be able to see the actions you have enabled App Shortcuts for. Depending on your system, more or less number of actions can appear here, but the maximum is usually 5.
Share Targets
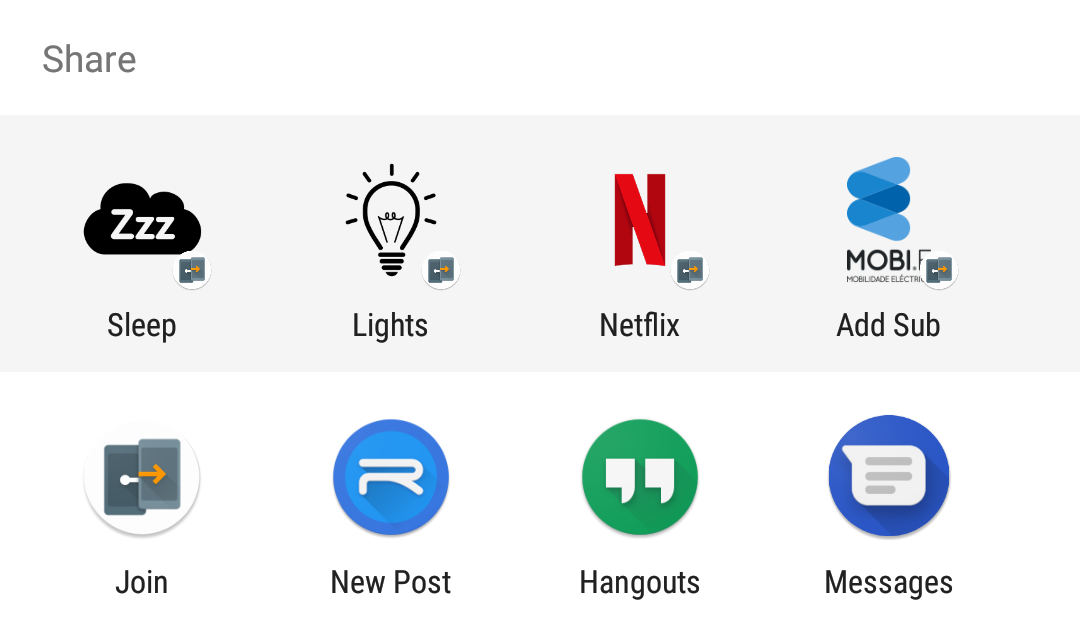
When you share something on an app and the default Android share menu shows up, Join actions will show up there. Set the share target priority to 100 if you absolutely need them there, or make priority lower if you want Android to show them less times. Up to 4 actions can appear here. The actual content you shared will be used as the action’s input. For example, if you have an action to say something on a different device and share some text to it, it’ll say that text out loud on the device.
Notification Buttons
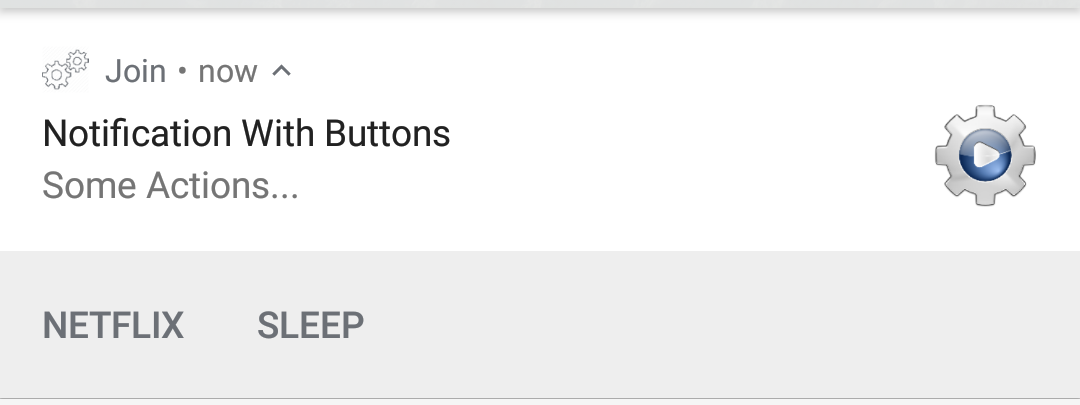
You can make your Join actions appear in Join notifications created with the Join API. To add those actions add them in the actions parameter of the API URL, and separate them with |||
For example, to create the above notification you’d use a URL like
https://joinjoaomgcd.appspot.com/_ah/api/messaging/v1/sendPush?text=Some%20Actions…&title=Notification%20With%20Buttons&deviceNames=Pixel&apikey=YOUR_API_KEY&actions=Netflix|||Sleep
If the actions allow for input, the text and title of the notification will automatically be used as input for them.
If you want you can use custom input for them by using this format:
…&actions=Action Name 1=:=input 1=:=input 2=:=input 3|||Action Name 2=:=input A=:=input B=:=input C
So separate the inputs on each action with =:=
Tasker Actions
You can use actions directly as a Tasker action and if you want you can pre-fill any inputs the actions take with Tasker variables. So, for example, if you want to tweet something from Tasker just use it in the action and pre-fill Value 1 with the text you want to tweet.
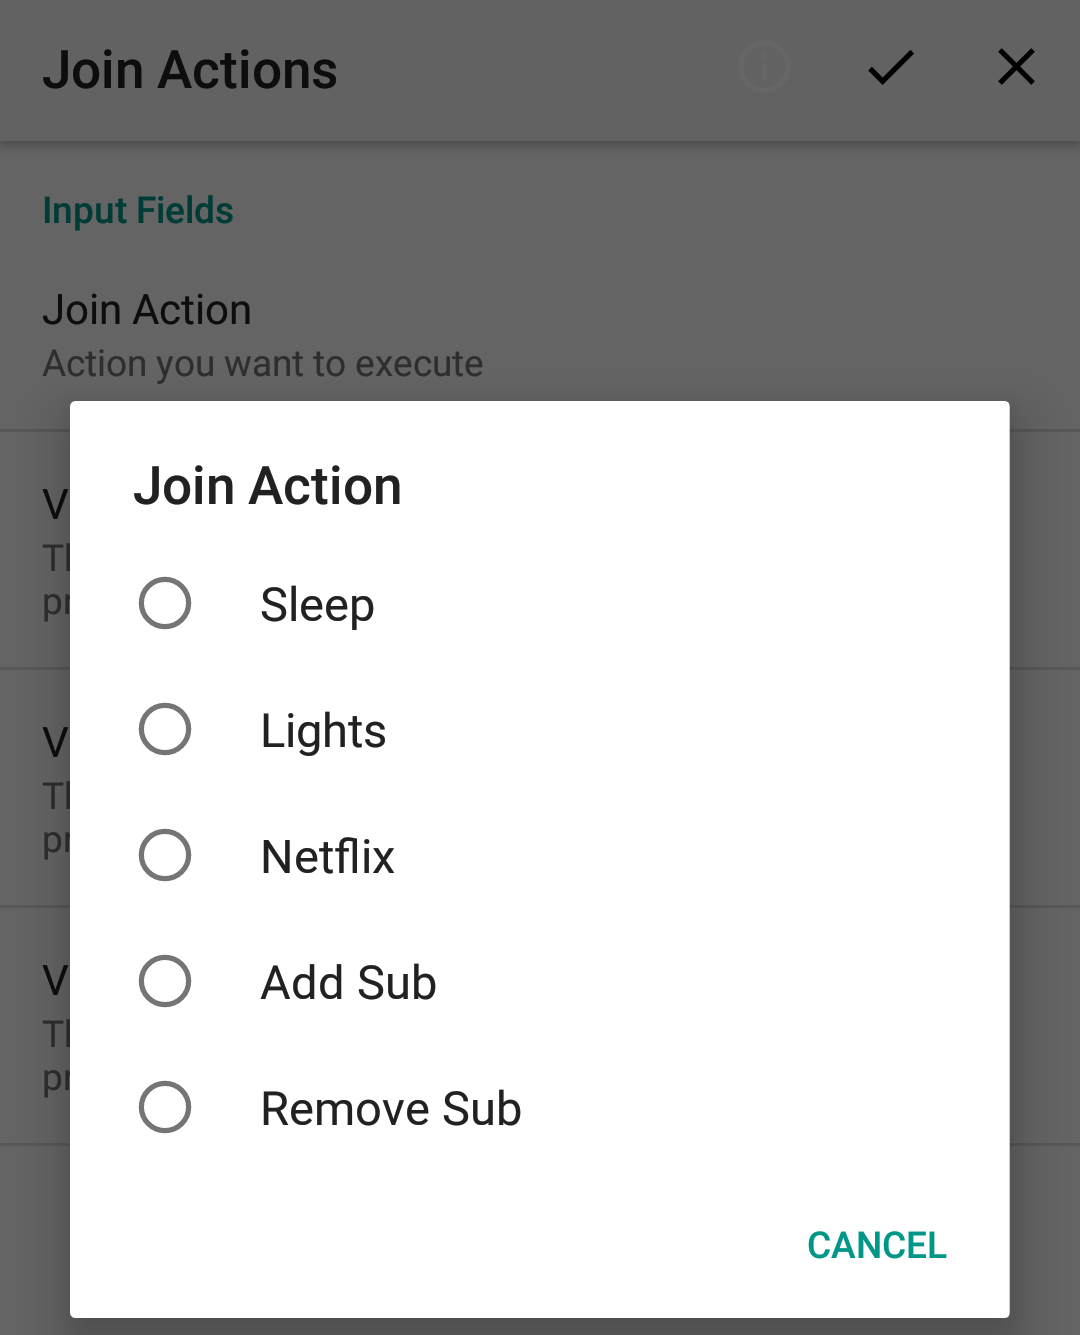
Built-In Actions
These are actions that allow you to perform built-in Join actions on other Join devices. For example:
- Send a Note
- Send a File
- Open a URL
- Say something out loud
- Open an app
You can either pre-fill the input of the action (if available) or leave the input empty so it’s prompted when the action is ran.
For example, let’s say you want to have a Home Screen shortcut that says “Time for dinner” out loud on your kids’ phones. You’d
- Create a Home Screen shortcut
- Select Join -> Built-in Action
- Select your kids’ devices
- Select the built-in Say action
- Set the input to Time for dinner
- Accept it
Now any time you click on the shortcut it’ll say the text out loud on their devices!
Custom Actions
These are actions that don’t actually do anything by themselves until you’ve configured the recipient to do something with them.
Some examples of custom actions you can create:
- Send a tweet
- Create a new task in Todoist
- Get any info from your phone like its current battery level, nearby wifi connections, etc
- Take a photo on your phone and receive it back on the device that requested it
- Ask for the current weather in a notification
- Toggle a light in your home
- Control your TV
…you get the idea 😀 Basically anything that the receiving device supports you can do from a custom action.
- Android: Tasker. Learn how to (for example) trigger a Tasker Task here.
- Windows PC: AutoRemote EventGhost plugin
- Any PC (including Windows): Node-RED
- Cloud: IFTTT
Custom Actions use the AutoApps Command System.
- Add the IFTTT device to your device list. More info here.
- Setup an IFTTT applet to react to the event tweet. (use “Maker” as a this, set event to tweet. More detailed instructions here.)
- In the applet’s action use Twitters Tweet action.
- In the Tweet text add the Value1 ingredient.
- Save your applet. IFTTT part is done.
- On this screen create a new action, name it Tweet and set its command to tweet (the same you set the applet’s event to)
- Add a prompt like What would you like to tweet? so it asks you for the Value1 ingredient when the action is ran.
- Enable the Use Voice option if you’d like to tweet with your voice
- Touch the Devices button and select IFTTT
- Touch the Done button.
- If you want to test it right away, touch the Tweet command on the list and select Run
This should now prompt you for the tweet text and then post the tweet via IFTTT. 🙂
Chrome
In Chrome you can create actions by going into the extension settings and creating them in the Actions tab.
All actions created here will be Custom Actions.
When selecting an icon it’s best to always use direct SVG code so that the icons can be themed with the colors you selected for your theme. Here’s a good way to get some material design SVG icons:
- Go to materialdesign.com.
- Find the icon you want and click on it
- Click on Icon Package
- Click .SVG Optimized
- Open the downloaded file in a text editor
- Copy the text in the file starting with <svg and ending at the end of the file
- In the Join Chrome Extension Settings click on the icon for an action
- Paste the text you copied before
The icon should now show up and be themed correctly.
You can also use any PNG or SVG icon URL from the web directly. Colored icons will show their original colors.